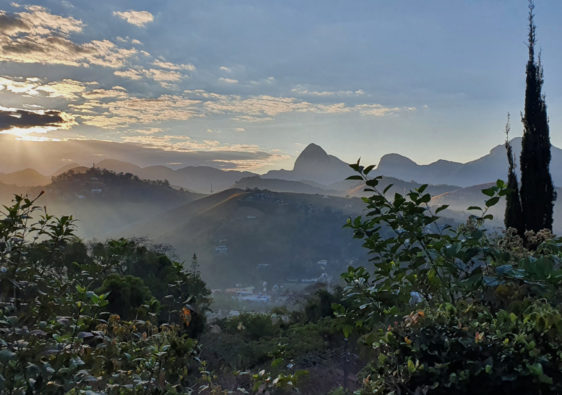
Rio de Janeiro is known for 3 things: party, violence and nature.
In my recent post The Partygoers Guide For The Best Party In Rio, we dived into Rio’s active nightlife day by day, so now it’s time to cover the active day-goers drug: hiking. Rio offers some really spectacular hiking spots. Not all hikes are suitable for everyone, not all hikes are safe, but all the views are fantastic.
In this list I give you deets on all my favorite spots to hike in Rio, including the good, the bad and the ugly when it comes to danger.
NOTE: Gun violence is a big crime in Rio. It is not uncommon to hear horror stories about armed robberies in some of these hiking spots in Rio. You’re best bet in avoiding violent situations is prevention. Carry little cash on you and no electronics. If you happen to face a situation of robbery, cooperate. Give them what they ask for and be thankful you still have your life. For more tips on what to do in an armed robbery situation read Armed Robbery Prevention & Response Tips.
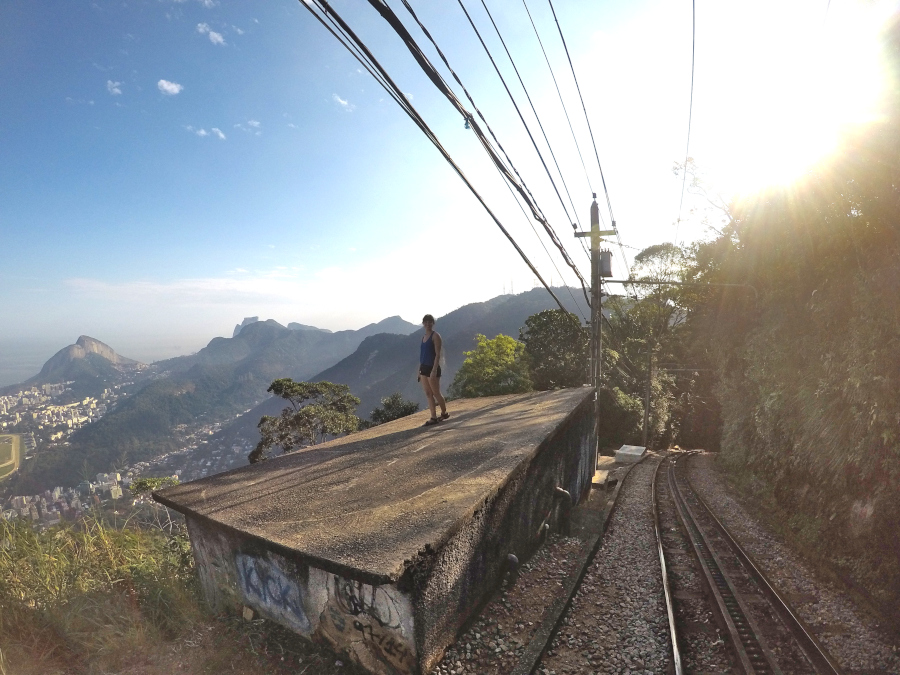
1. Christ the Redeemer: A Less Than Holy Hike (aka Trilha Do Corcovado)
Duration: 1h 45min Difficulty Level: low-medium Danger Level: 4/5 (likely to get robbed)
A trip to Brazil wouldn’t be complete without admiring the gigantic Christ statue at least once.
And what better way to admire it than at its foot, looking up at its grand entirety after a little hike through the forest? By hiking up to the Christ, not only do you get special views of the city most of the other public don’t, you also get a discounted entry to access the Christ once your up there (because you aren’t paying for the transport up there). The downside to this hike is that it’s commonly known for being dangerous – especially during high season.
While nothing happened during my hike up, I was prepared for the worst and intentionally left my cellphone in the Airbnb – just in case – so know that this hike doesn’t come without risk.
Where to start: the beautiful Parque Lage (follow the little stone path until you reach the little stone house – that’s where you’ll start)
What you should know: Make sure you sign the hiker list at the start of the climb and be sure to ask about safety the day you want to climb. Also, know that the park closes at 6pm, so you won’t be able to climb up past that time.
Reward: Getting to Corcovado and it’s amazing view after visiting the beautiful Parque Lage and getting to climb through the jungle.
Recommendations: Hike without special electronics and bring very little money with you. Stay alert and if anything happens and you can’t communicate for a language barrier, hand over whatever it is you do have.
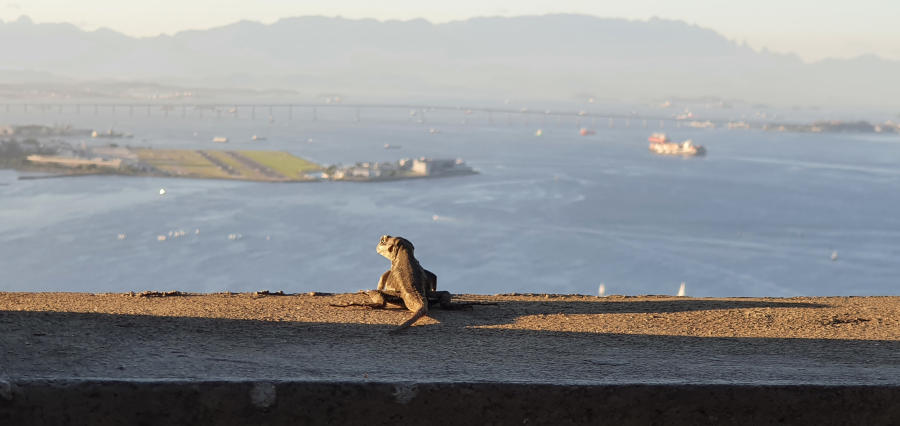
2. SugarLoaf: The Climb That Isn’t So Sweet (aka Trilha do Morro da Urca)
Duration: ~1hr 20min Difficulty Level: light-moderate Danger Level: 4/5 (likely to get robbed)
If you’re a thrill-seeker and you’re out for another treacherous climb, Trilha do Morro da Urca is where you’ll find it.
Due to it’s high-influx of tourist traffic, it’s another major hike to take extra care on. During my time in Rio, I had 3 friends, knew 2 travelers and heard multiple others stories of climbers who were forced to give up their cellphones on this hike. You don’t want to be like these people.
Take caution.
Where to start: Pista Claudio Coutinho (a beautiful path that starts to the left of Praia Vermelha, Urca)
What you should know: This hike only takes you up to the first “loaf,” not the second. So you’ll still need to take a cable car to the top of the second summit – and trust me, you don’t want to miss that one!
Reward: Stunning views and a save of about 20R from the cable car.
Recommendations: Same precautions as those mentioned for the Christ if you decide to hike it. I’d recommend that you don’t. At least not if your goal is to see the view from Sugarloaf. The views are spectacular and worth saving by photo. Maybe try this hike another time, after you’ve already seen the view from the summit, so you can go freely without cameras and cellphones and without the desire to continue the journey up.
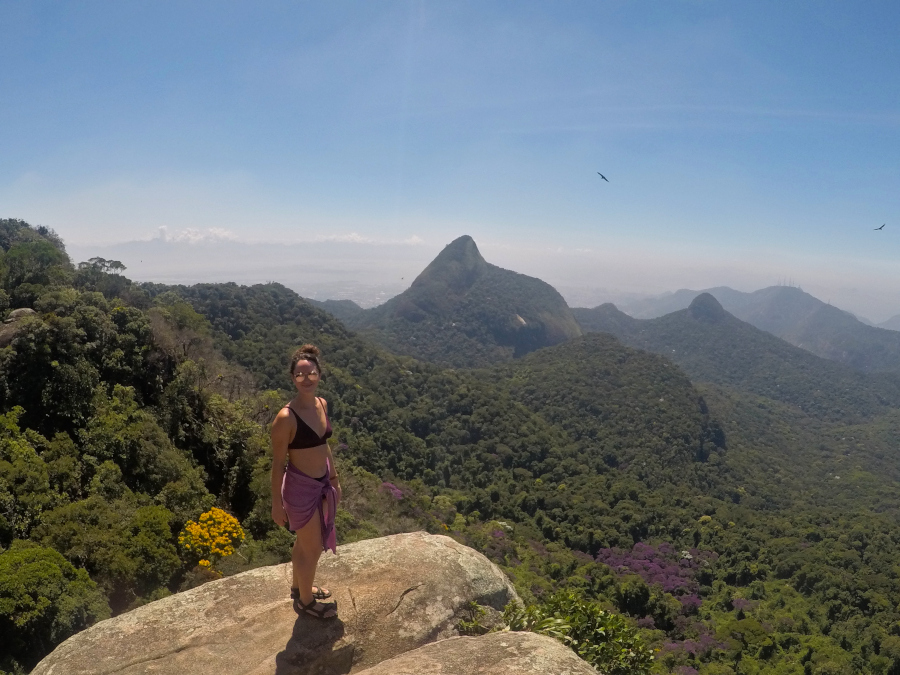
3. Tijuca Peak: A Summit Full Of Surprises (aka Pico Da Tijuca)
Duration: 1hr 45min – 2hrs (up & down) Difficulty Level: medium-heavy Danger Level: 0.5/5
Pico da Tijuca is located in Tijuca National Park, which is overflowing with natural beauty.
There’s something about being surrounded by the forest in an area that’s devoid of tourists that’s magical.
With a handful of trails to choose from (all around 2-3km), you’re guaranteed a beautiful view here.
Where to start: Largo do bom retiro (at the end of the street Maj. Archer), Floresta de Tijuca, Tijuca
What you should know: Bring good shoes, water, sunscreen, and your camera. There are many other treks in this park, waterfalls, and creeks to explore.
Reward: Incredible 360° over Rio from the second highest mountain in Rio. Plus you have much better opportunity to see diverse wildlife here on your way up.
Recommendations: Bathe in a waterfall on your way down 😉

4. Leme Fort: The One Hike You Must Experience While In Rio (aka Forte Do Leme)
A short, shaded hike full of playful monkeys, tropical birds that sing you lullabies all the way to a 360° view overlooking Rio? Uh yes, please! (One of my personal favorite hiking spots in Rio.)
Duration: ~40min (up & down) Difficulty Level: easy-medium Danger Level: 0.5/5
Where to start: Forte Duque de Caixas, Leme (Open 9:30-16:30)
What you should know: This hike is located on a military base, so some days it might be closed depending on what’s happening that day.
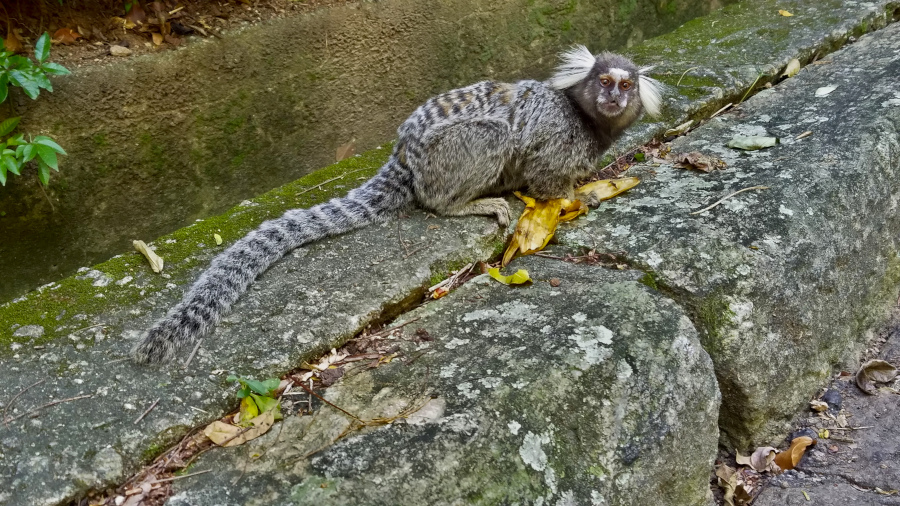
Reward: Beautiful view on 2 sides of Rio (one of them being less than common view), plus you get to meet many monkeys on your way. (They love interacting with people).
Recommendations: Arrive on a Tuesday if you want to avoid the 4 reais entry fee. Arrive early in the day if you want to catch the monkeys. (They disappear once the sun starts shining through and heating up the area). When you come down, take a walk along the Caminho dos Pescadores and stop at one of the bars there for a nice, relaxing atmosphere.
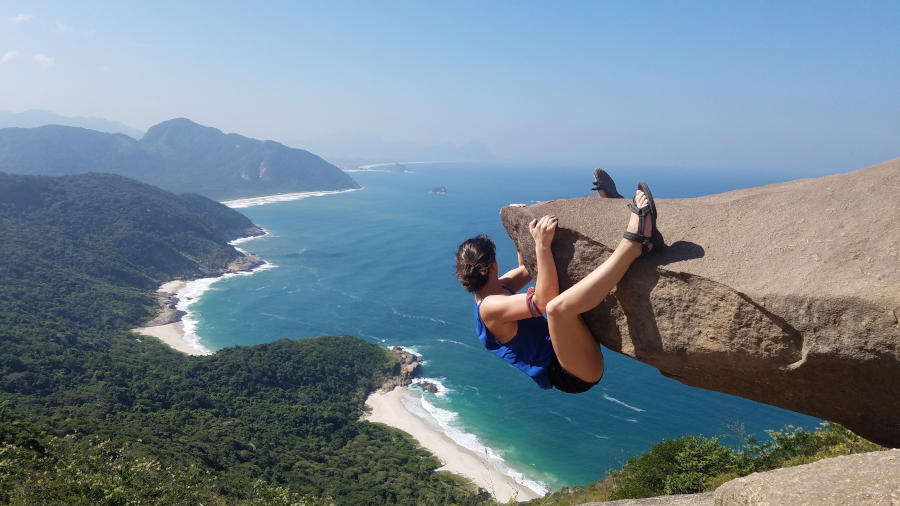
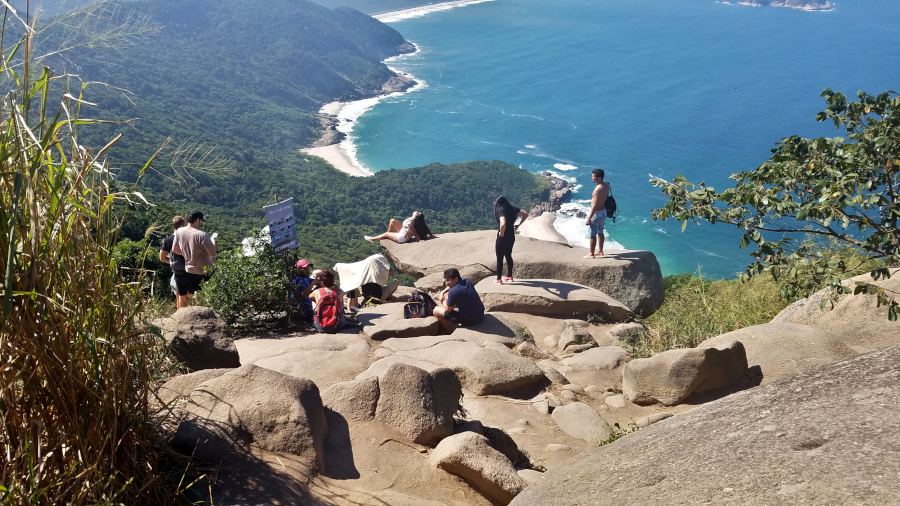
5. Telegraph Rock: Is It Really A Line Worth Waiting For? (Pedra do Telegrafo)
Duration: 1hr 45min Difficulty Level: medium Danger Level: 0.5/5
This number 5 hiking spot in Rio is one that is especially out of the way.
Everyone loves to go here, but honestly, you’re better off skipping it if you’re limited on time. Rio offers some of the best hiking spots within the main tracks of the city, you don’t really need to travel so far outside of it to find spectacular views. But if you’re looking for something different and you have the time, this hike truly is a beautiful one.
Plus, the town at the start of the hike offers a beautiful beach and great places to dine afterwards for a slightly different experience than Ipanema/Copacabana.
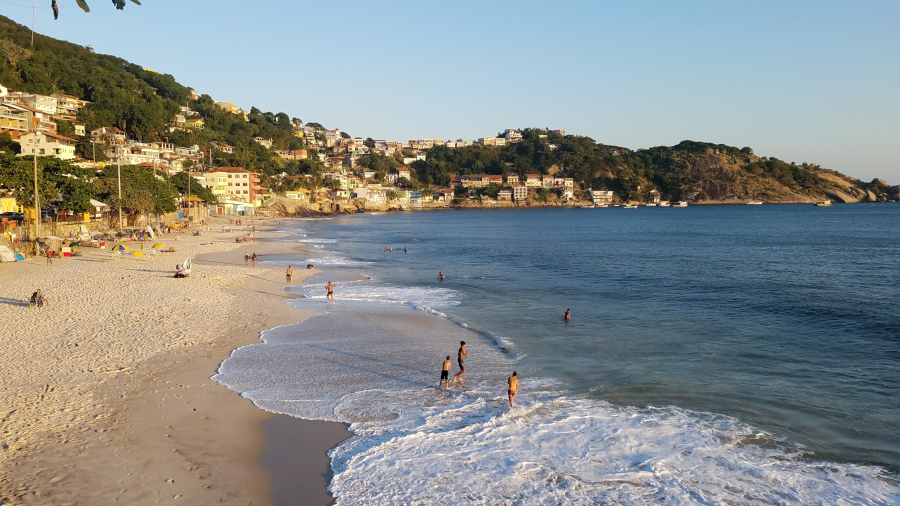
Where to start: Nossa Senhora das Dores (in front of Praia Grande), Barra de Guaratiba
What you should know: This hike gathers a crowd at the iconic hanging rock. Arrive early if you want to avoid the line for photos, or be prepared to wait up to an hour for your picture. Avoid weekends and holidays.
Reward: Spectacular view of nearby beaches & jungle, plus you’ll now have a great new photo for your profiles.
Recommendations: Arrive early and bring extra water. The only place to get snacks and drinks is going to be at the start of the trail.
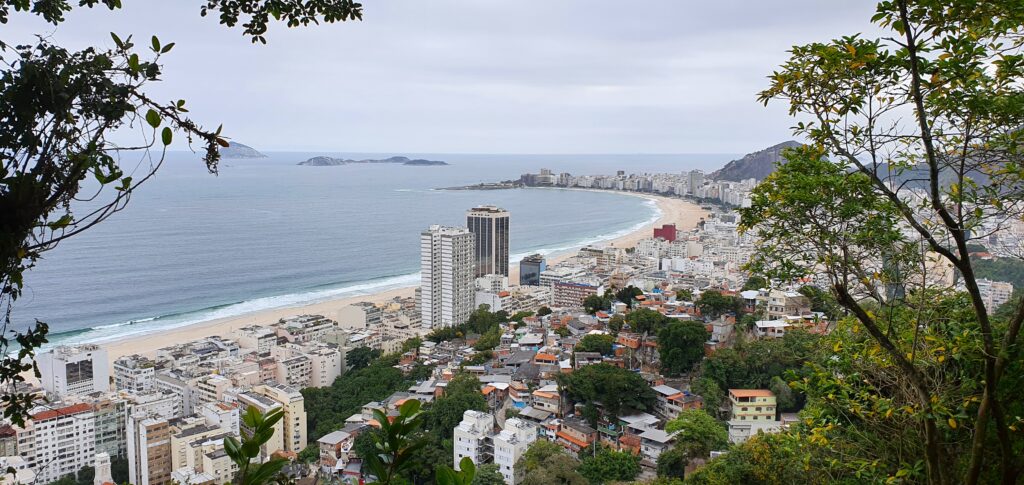
6. Babilônia Trail: Gangs of Babilônia (aka Trilha da Babilônia)
Duration: 1hr 15min Difficulty Level: medium Danger Level: 1/5
Where to start: caixa d’agua, Babilônia, Leme
What you should know: There’s a reception at the start of the hike, people work there and keep care for the safety of the community. Ask them if it’s possible to hike up at the moment. Sometimes gang members hang around there or there can be some erosion they’re in the process of fixing.
Reward: Several viewpoints with some nice views and different angles of Rio.
Recommendations: Stop at bar Estrelas da Babilônia on your way down.
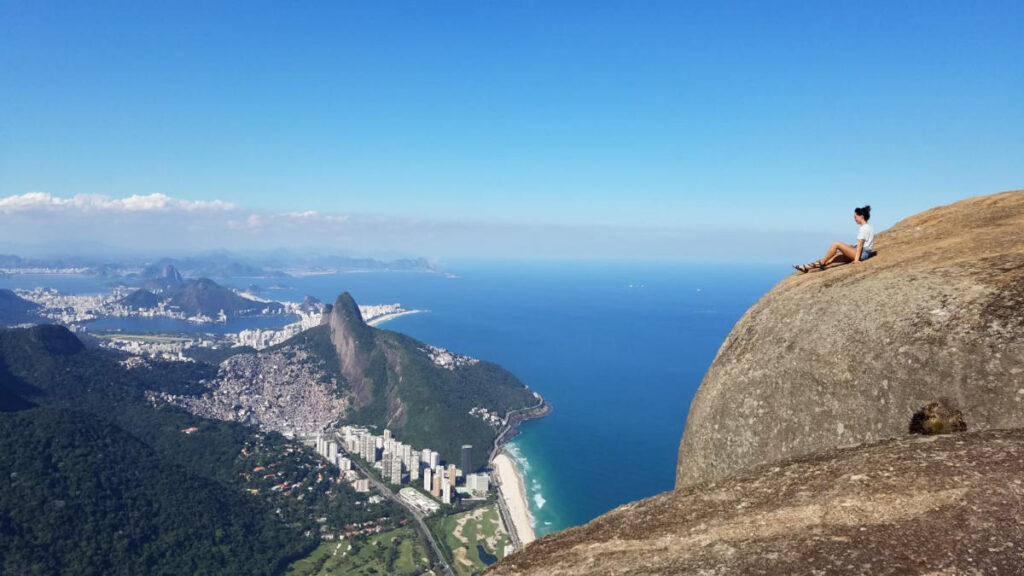
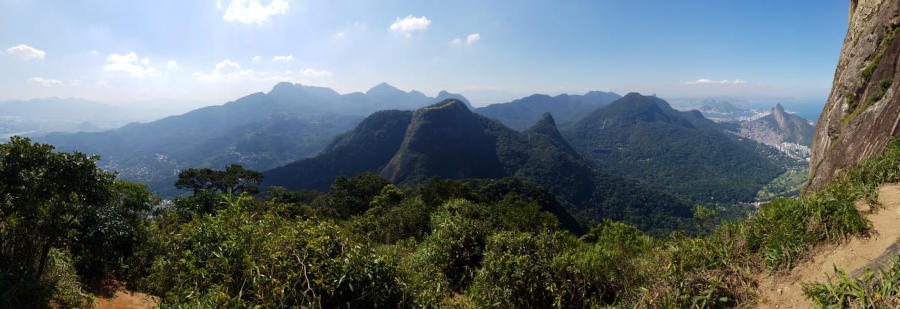
7. Gavea Rock: To Climb Or Not To Climb? (Pedra da Gavea)
Duration: 4-5hrs Difficulty Level: heavy-advanced Danger Level: 5/5 (risk of falling)
This beast of a hike is by far the most strenuous and the most dangerous, but it’s rewarding your with the most amazing view if you get to the top.
Where to start: Rua Sorimã, Barra da Tijuca
What you should know: You really need to be in good shape to climb this one since its the hardest and most dangerous hiking spots in Rio. The rocks at the end are the most dangerous part of the stretch because they require a steep climb to the top. If you feel unsure or it’s wet out or windy, do not climb this part. That’s how people have fallen and died in the past.
Reward: Amazing 360° view over the west side of Rio.
Recommendations: Arrive early in the day if you want to avoid the hot sun on your way up and bring someone skilled in hiking and bravery if you’re experience level is… not so experienced. This one is best hiked with someone else.
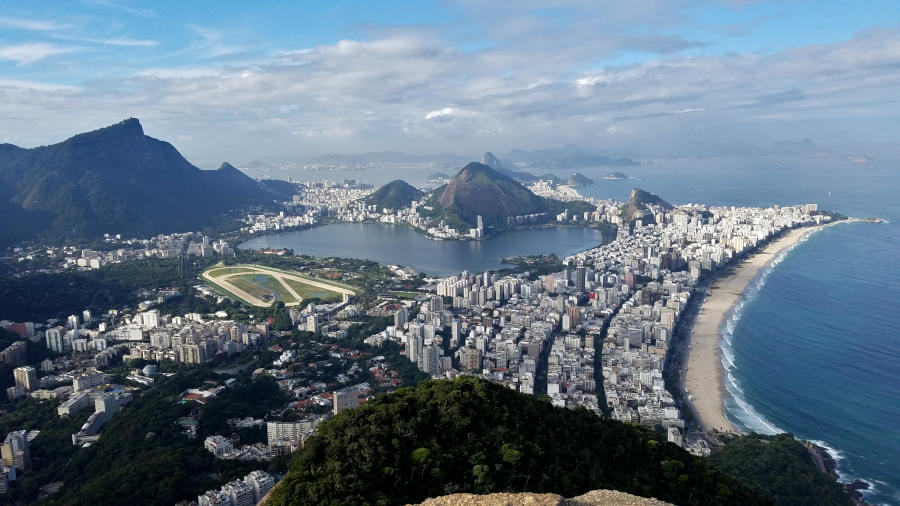
8. Two Brothers: How I Met Your Brothers (Dos Irmãos)
Duration: ~2hrs (+45min walk up from Vidigal) Difficulty Level: light-moderate Danger Level: 1/5
If you’re interested in checking out a favela, this hiking spot is one of the best ways to do so because you have to pass through the Olympic village of Vidigal to get there.
Where to start: Vidigal
What you should know: You’ll need to take a taxi/motortaxi up Vidigal once you arrive. Due to agreements with those on the hill, drivers outside of Vidigal aren’t permitted to drive up. Negotiate so your driver will bring you all the way up to the trail start. (You can also walk, but it will tack on more time and it’s a pretty steep climb up. You will get to see and experience a lot of the neighborhood on the way up, though – including some nice graffiti murals – Vidigal is known for its artistry.) No big risk here by day, but by night it can be a bit confusing on how to return. That said, sunset here is super nice.
Reward: Stunning 360° view of Rio. (Especially beautiful views over Rocinha, São Conrado, Leblon, Ipanema and Lagoa.

Recommendations: Don’t forget sunglasses and sunscreen. It can get really hot on this one. On your way down, hit up Bar do Lage for an incredible view. (*Food and drink here is expensive but the view is worth a stop.)
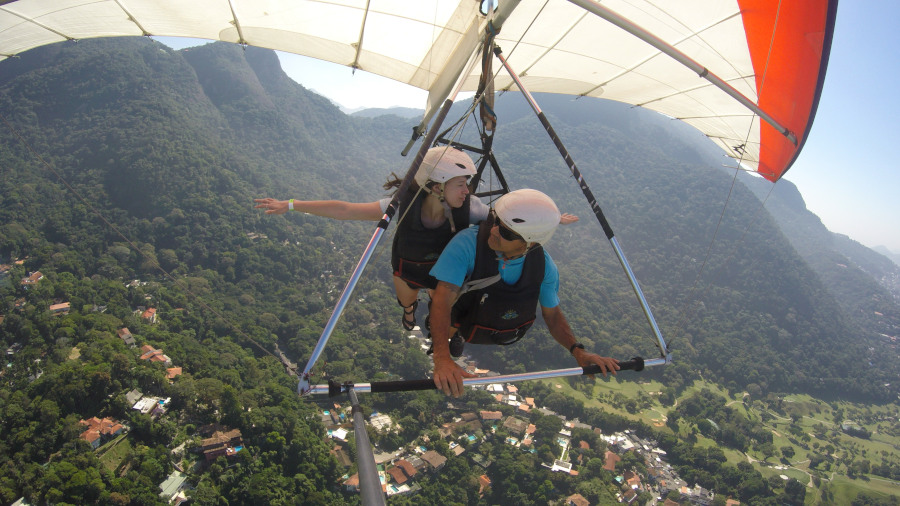
9. Beautiful Rock: Busy Rock (aka Pedra Bonita)
Duration: 1hr 20min Difficulty Level: light-moderate Danger Level: 0/5
If you’re interested in checking out a favela, this hike is one of the best ways to do so because you have to pass through the Olympic village of Vidigal to get there.
Where to start: slightly before the take-off zone for the paragliders/hang gliders, São Conrado
What you should know: Steep hill up.
Reward: Nice views over Zona Sul and some behind the scenes action of watching the gliders taking flight
Recommendations: You can taxi up the where the gliders are and start from there.
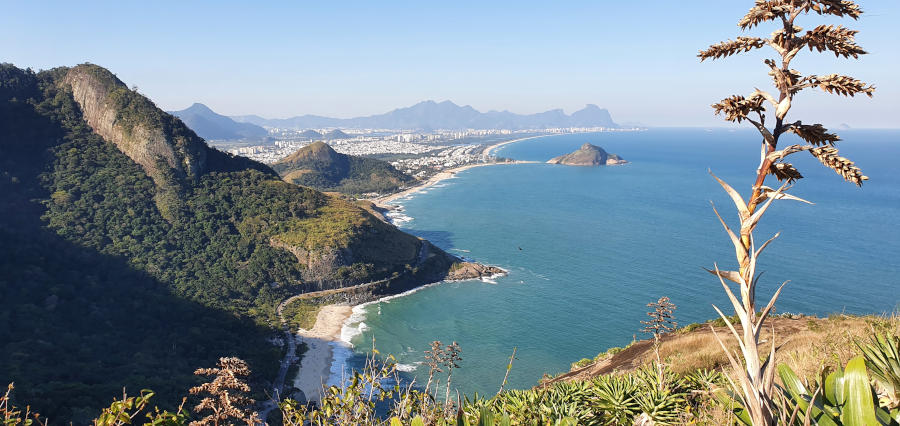
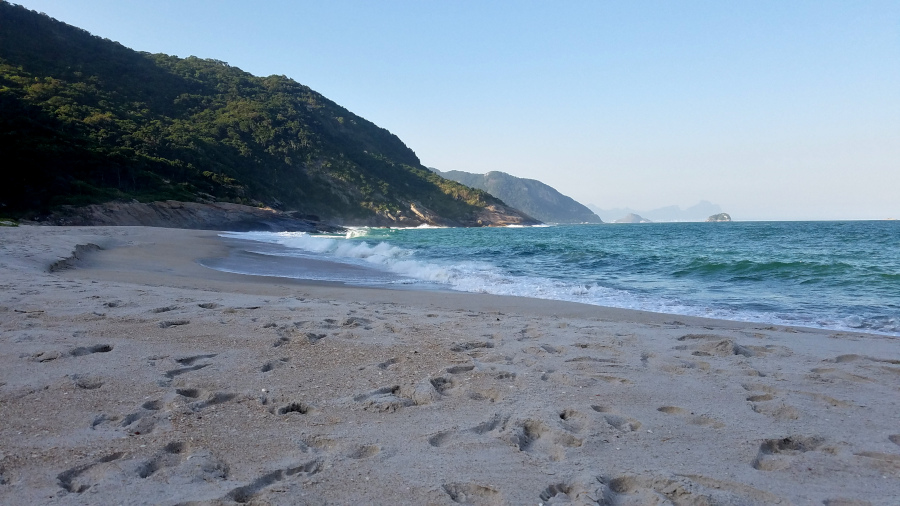
10. Goats Hill: An Unsettling Graze (aka Morro dos Cabritos)
Duration: 45mins-1hr Difficulty Level: light-moderate Danger Level: ?/5
This hike sits further off on the west side of Rio, so it takes a little longer to get to, especially by public transport.
Besides the inconvenient distance, you do run a little risk of trouble here as it’s not exactly legally permitted to access this trail… It’s one of those things were there’s a sign and people aren’t supposed to do it, but everyone still does it. We only found this out after arriving there and parking in the small lot just at the start of the trail.
The guy watching everyone’s cars told us how to enter and ensured us that it wasn’t a big deal, but really, he coulda just been happy to get our cash and told us what we wanted to hear to make us stay.
Where to start: There’s a parking lot right across the road from a restaurant called Mirante da Prainha. On the backside of that lot, where the jungle meets the lot, there’s a fence, you need to climb that fence.
What you should know: The hike itself isn’t marked, so you need to follow the mowed down path of risk-taking adventurers before you. Also the parking lot is super small and fills up fast, especially on weekends.
Reward: Nice views over the west side of Rio.
Recommendations: Avoid weekends and holidays. Wear good shoes as it isn’t properly paved down. Go at your own risk.
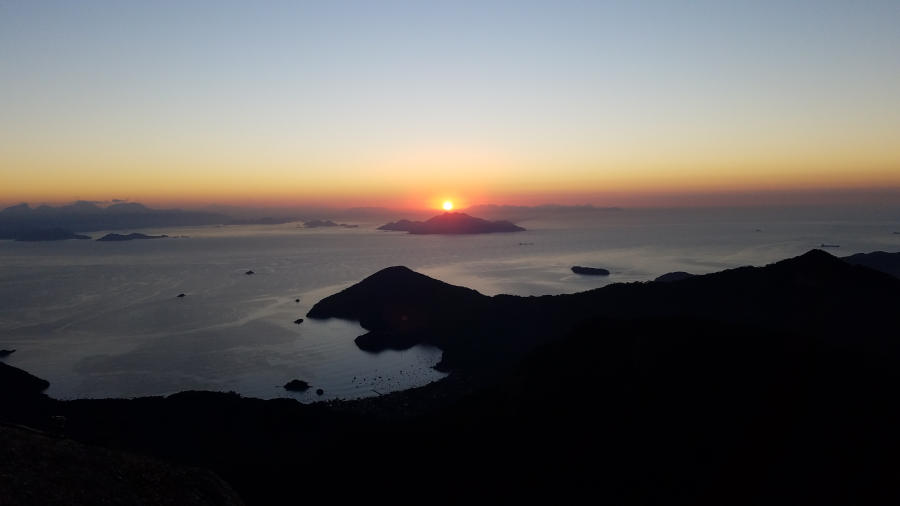
11. Parrot’s Peak: The Early Parrot Gets the Most Magical Sunrise in Rio (aka Pico do Papagaio)
Duration: ~5hrs Difficulty Level: moderate-heavy Danger Level: 2/5 (risk of poisonous spiders)
Definitely one of my favorite hiking spots in Rio.
Not a hike to try alone as it isn’t very well marked.
Nighttime is the only time you should be hiking this trail – the view is that good.
Where to start: The start of the trail begins alongside the road somewhere just outside of the main streets of town.
What you should know: You need to leave around 2am to make it to the summit by sunrise (will vary slightly depending on the time of year).
Reward: The most stunning sun salutation you will experience in Rio.
Recommendations: Go with an experienced guide. It will cost you, but the trail isn’t marked and it can be easy to veer off the path that late at night.
